
We hope you enjoy this free Fall pattern idea. This is a fun way to embrace the change of seasons and can be used on a variety of pieces.
As with any piece painted by you, you’re able to alter colors and style to fit your space.
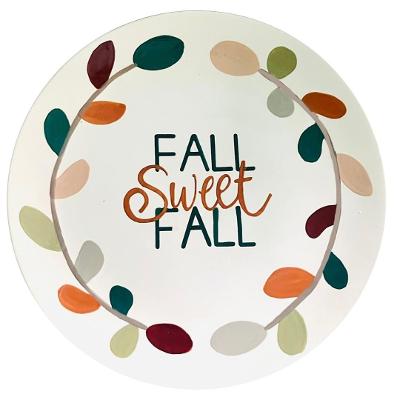
Fall Sweet Fall Plate
DIRECTIONS
1. Choose your favorite pottery piece. The sample is shown on a coupe plate but use your imagination and have fun selecting your bisque.
2. Start by sketching the words onto your piece with a pencil. Pencil will burn off in the kiln but too much graphite & eraser bits can cause a mess when firing. Remember to be gentle & careful while sketching. We also have tissue paper and white paper at the studio if you prefer to practice first.
3. Sketch on the leaf stems and leaves. Remember to be loose with a gentle touch, hand painted pottery should be simple and stress free.
4. Now for the color! Mix 2 parts of Taupe to 1 part Dark Brown. Using a small liner brush, paint 2 coats of this color on the curved branches.
5. Paint each leaf with 3 coats of color, alternating between Teal, Cinnamon, Pumpkin, Taupe, Pea Green, and Light Tan. Avoid having two leaves of the same color next to each other.
6. Using a small brush, paint the two FALL words with 3 coats of Teal.
7. Paint the word SWEET with 3 coats of Pumpkin. Leave at Claytopia for clear glaze application and kiln firing. Pick up your finished plate after 1 week and admire your new Fall piece.